Catch a whiff of sweetness in the air as you imagine slicing into a luscious blue velvet cake. Its velvety texture and vibrant hue will make your taste buds dance with joy while your kitchen fills with laughter and delight. This show-stopping dessert is not just about looks; it’s also a flavor explosion that will leave everyone begging for seconds.
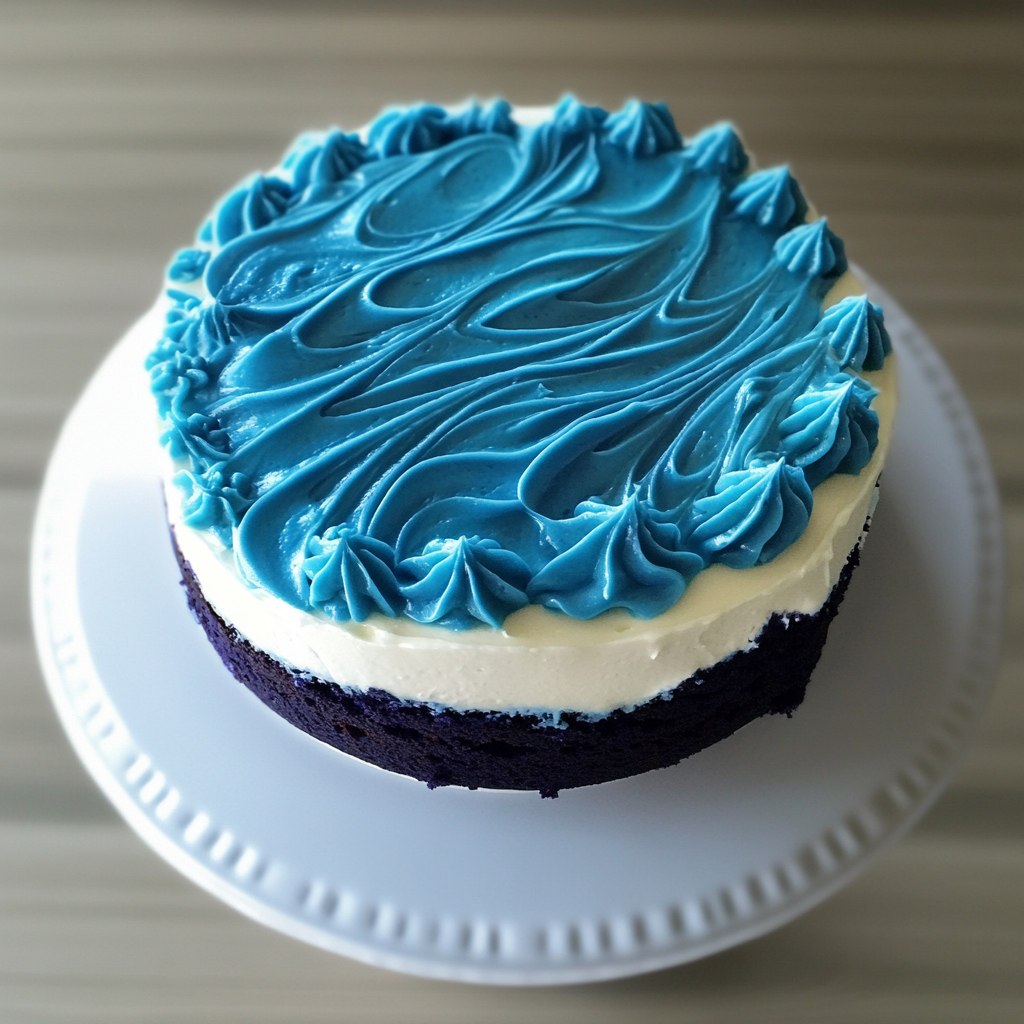
Picture this: It’s your best friend’s birthday, and you decide to surprise them with a stunning blue velvet cake. As you present it, their eyes widen in shock and delight. The joyous squeals from your inner circle are music to your ears! With this recipe in hand, you’ll create more than just a dessert; you’ll whip up memories that last a lifetime.
Why You'll Love This Recipe
- This blue velvet cake is surprisingly easy to make and requires minimal ingredients
- Its unique color makes it the star of any celebration
- The flavor is rich yet balanced, ensuring everyone enjoys a slice
- Perfect for birthdays or casual get-togethers—this cake never disappoints!
I still remember the first time I baked this blue velvet cake; my friends couldn’t stop raving about it!
Essential Ingredients
Here’s what you’ll need to make this delicious dish:
- All-Purpose Flour: Sifted flour ensures the batter is light and fluffy for that perfect texture
- Cocoa Powder: Choose high-quality cocoa powder to enhance the chocolate flavor without overpowering the vibrant color
- Granulated Sugar: Regular white sugar works best to balance sweetness without adding extra moisture
- Baking Powder: Make sure it’s fresh for optimal rise; check the expiration date on the package
- Salt: Just a pinch enhances all flavors without making the cake salty
- Vegetable Oil: This keeps the cake moist; feel free to substitute with melted butter if desired
- Buttermilk: Adds richness and helps tenderize the gluten in the flour
- Eggs: Use room temperature eggs for better emulsification within your batter
- Blue Food Coloring: Gel food coloring gives you a vibrant shade without altering consistency too much
- Vanilla Extract: Pure vanilla extract adds depth; avoid imitation varieties if possible
- Cream Cheese Frosting: Creamy frosting complements the flavors perfectly; store-bought works too!
The full ingredients list, including measurements, is provided in the recipe card directly below.
Let’s Make it together
Preheat your oven to 350°F (175°C) and grease two 9-inch round baking pans with cooking spray. Dust them lightly with flour for easy removal later.
In a large mixing bowl, whisk together the dry ingredients—flour, cocoa powder, baking powder, and salt—until they’re well combined. The aroma of cocoa fills the room as you mix!
In another bowl, combine vegetable oil and granulated sugar using an electric mixer until fluffy and well blended. The mixture should look light yellow and inviting—a good sign you’re on track!
Next, add in buttermilk, eggs (one at a time), vanilla extract, and blue food coloring. Mix until everything is just combined; be careful not to overmix! You want those colors to pop without losing airiness.
Gradually incorporate your dry mixture into the wet ingredients by folding gently. A spatula works wonders here! You’ll know it’s ready when no flour streaks remain but still has some fluffiness.
Divide your batter evenly between the prepared pans. Smooth out each top with a spatula and pop them into your preheated oven for about 25-30 minutes or until a toothpick comes out clean.
Once baked, remove them from the oven and let them cool in their pans for around 10 minutes before transferring them onto wire racks to cool completely.
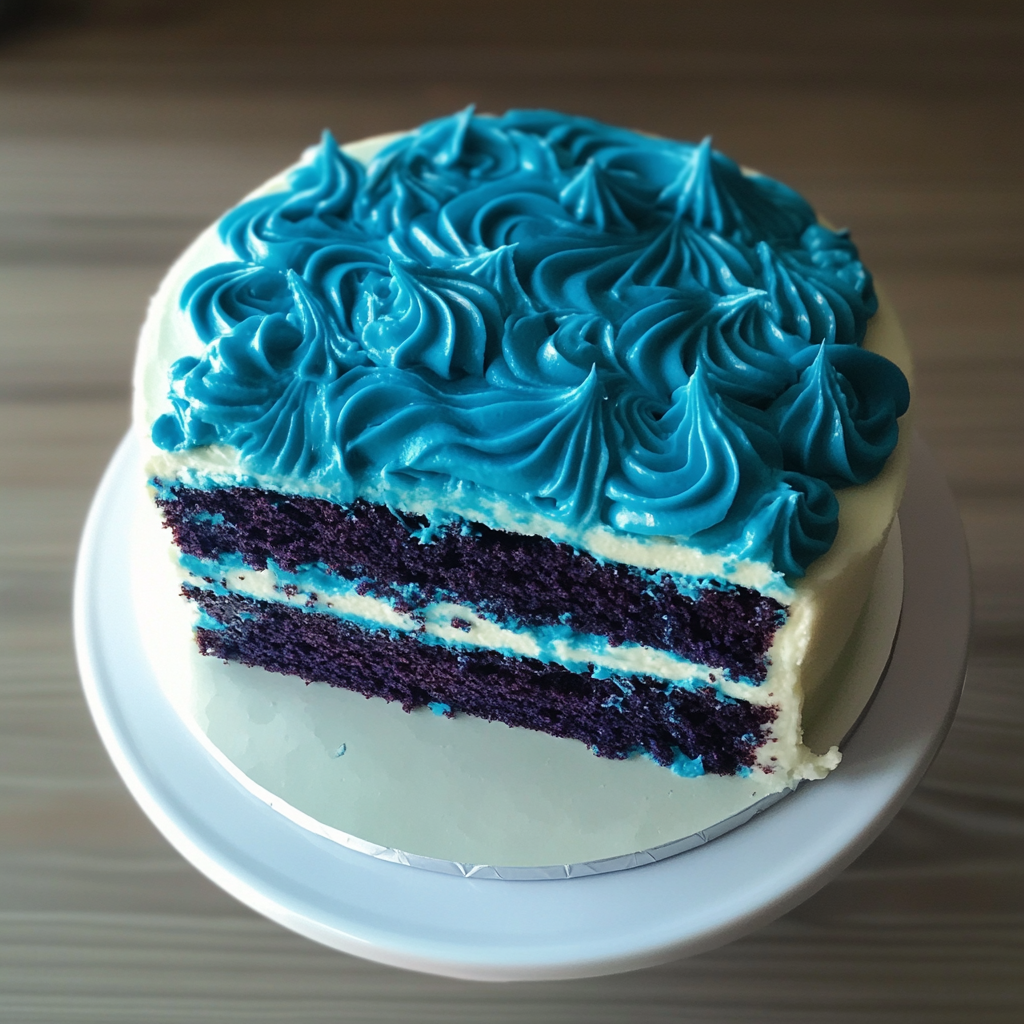
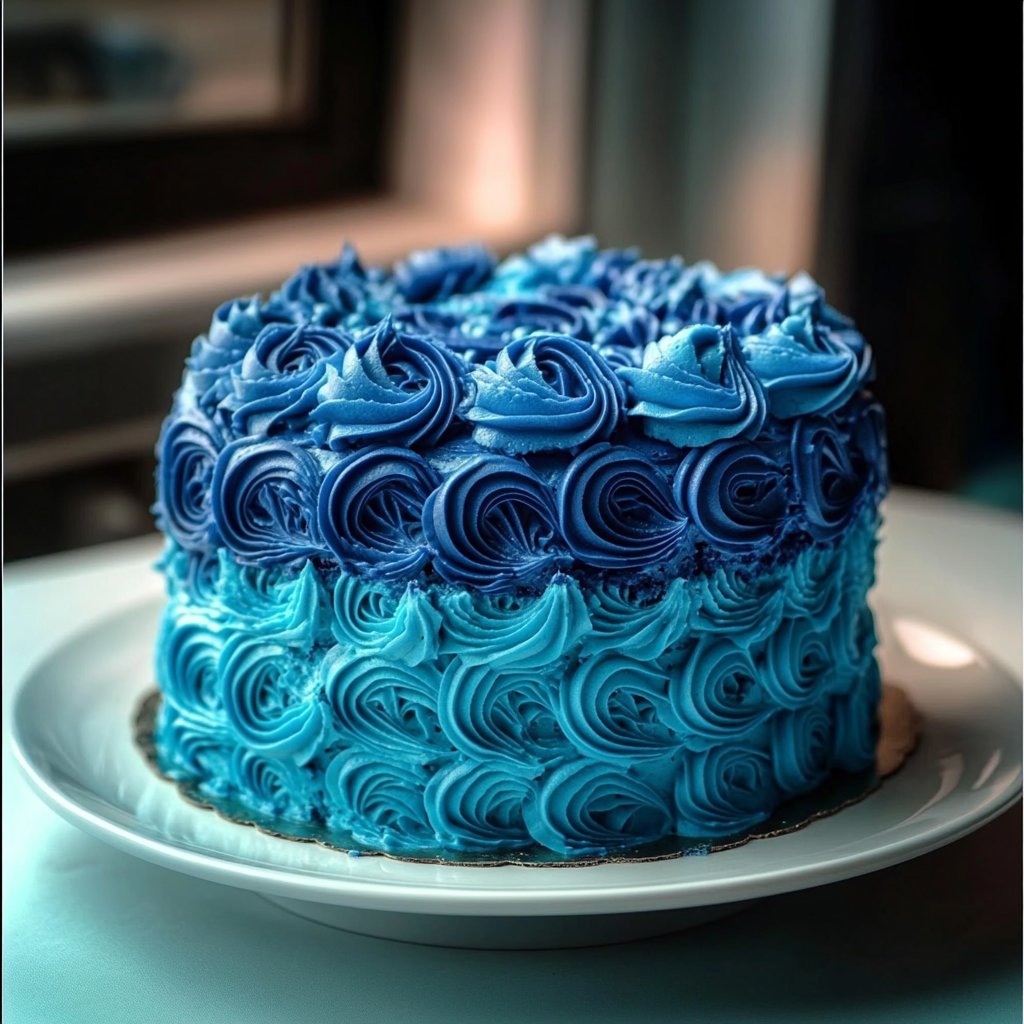
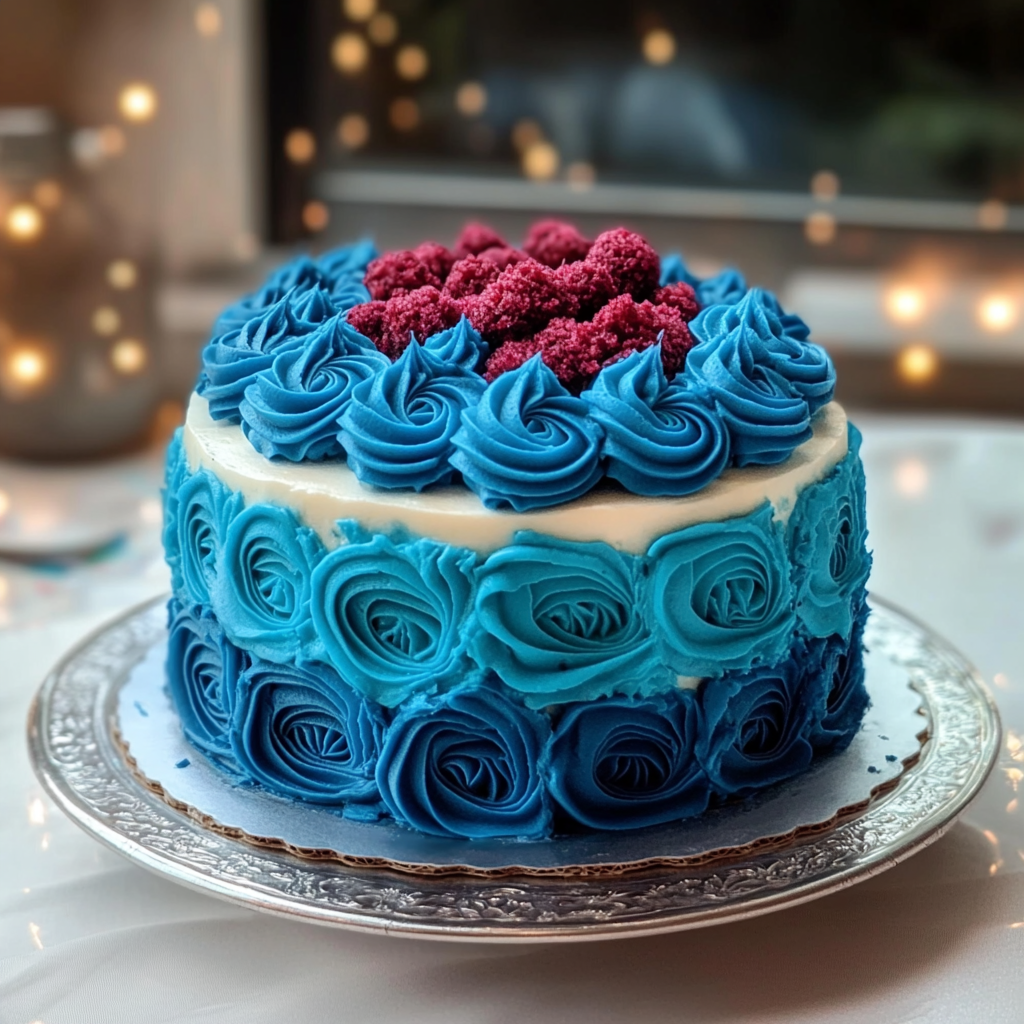
Finally, once cooled down—frost away! Spread cream cheese frosting generously between layers and around the outside of your beautiful creation. Garnish as desired—maybe some sprinkles or edible flowers—and get ready to impress!
Now slice into this masterpiece! Enjoy every bite while sharing giggles with friends over how ridiculously fun this baking adventure was.
Baking doesn’t have to be complicated—it can be filled with laughter and joy!
You Must Know
- Baking a blue velvet cake requires precision; ensure ingredients are at room temperature for the best results
- The vibrant blue hue will captivate your guests, making it a perfect centerpiece
- Remember, underbaking can lead to a gooey center, so stick to the recommended time
Perfecting the Cooking Process
To create a stunning blue velvet cake, mix wet ingredients first, then fold in dry ingredients carefully to maintain fluffiness. Bake at 350°F for about 30-35 minutes, checking for doneness with a toothpick.
Add Your Touch
Feel free to swap buttermilk with yogurt or add white chocolate chips for extra sweetness. Experiment with different frosting flavors like cream cheese or vanilla bean to enhance the cake’s flavor profile.
Storing & Reheating
Store leftover blue velvet cake in an airtight container at room temperature for up to three days. For longer storage, refrigerate it and bring it back to room temperature before serving.
Chef's Helpful Tips
- Use gel food coloring for a vibrant hue; liquid dyes can dull the color
- Be patient when mixing – overmixing can lead to dense cake layers
- Always cool the cake completely before frosting to avoid melty disasters
Creating my first blue velvet cake was an adventure; my friends couldn’t get enough of its unique color and taste! Their compliments made all my flour-covered chaos worthwhile.
FAQ
What makes blue velvet cake different from red velvet?
The primary difference is blue food coloring instead of red, providing a unique visual appeal.
Can I use different types of frosting?
Absolutely! Cream cheese frosting pairs wonderfully with blue velvet cake for added richness.
How do I prevent my cake from sinking in the middle?
Ensure your oven is properly preheated and avoid opening the door during baking to keep heat stable.
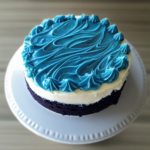
Irresistible Blue Velvet Cake
- Total Time: 50 minutes
- Yield: Approximately 12 servings
Description
Blue velvet cake is a stunning dessert that combines rich flavors with a vibrant color, perfect for any celebration. Delight your guests with this easy-to-follow recipe!
Ingredients
- All-Purpose Flour
- Cocoa Powder
- Granulated Sugar
- Baking Powder
- Salt
- Vegetable Oil
- Buttermilk
- Eggs
- Blue Food Coloring
- Vanilla Extract
- Cream Cheese Frosting
Instructions
- Preheat oven to 350°F (175°C) and grease two 9-inch round baking pans.
- In a bowl, whisk together flour, cocoa powder, baking powder, and salt.
- In another bowl, blend vegetable oil and sugar until fluffy. Add buttermilk, eggs (one at a time), vanilla extract, and blue food coloring; mix until combined.
- Gradually fold in the dry ingredients until no flour streaks remain.
- Divide the batter between the prepared pans and bake for 25-30 minutes or until a toothpick comes out clean.
- Cool in pans for 10 minutes before transferring to wire racks to cool completely.
- Frost with cream cheese frosting once cooled.
- Prep Time: 20 minutes
- Cook Time: 30 minutes
- Category: Dessert
- Method: Baking
- Cuisine: American
Nutrition
- Serving Size: 1 slice (90g)
- Calories: 330
- Sugar: 28g
- Sodium: 210mg
- Fat: 16g
- Saturated Fat: 3g
- Unsaturated Fat: 12g
- Trans Fat: 0g
- Carbohydrates: 43g
- Fiber: 1g
- Protein: 4g
- Cholesterol: 45mg


