A bite of golden-brown salmon cakes transports you to a sunny seaside shack where the salty breeze dances through your hair. Imagine crispy exteriors giving way to tender bites bursting with flavors of dill and lemon—mouthwatering, right? These salmon cakes with canned salmon aren’t just food; they are pure joy on a plate.
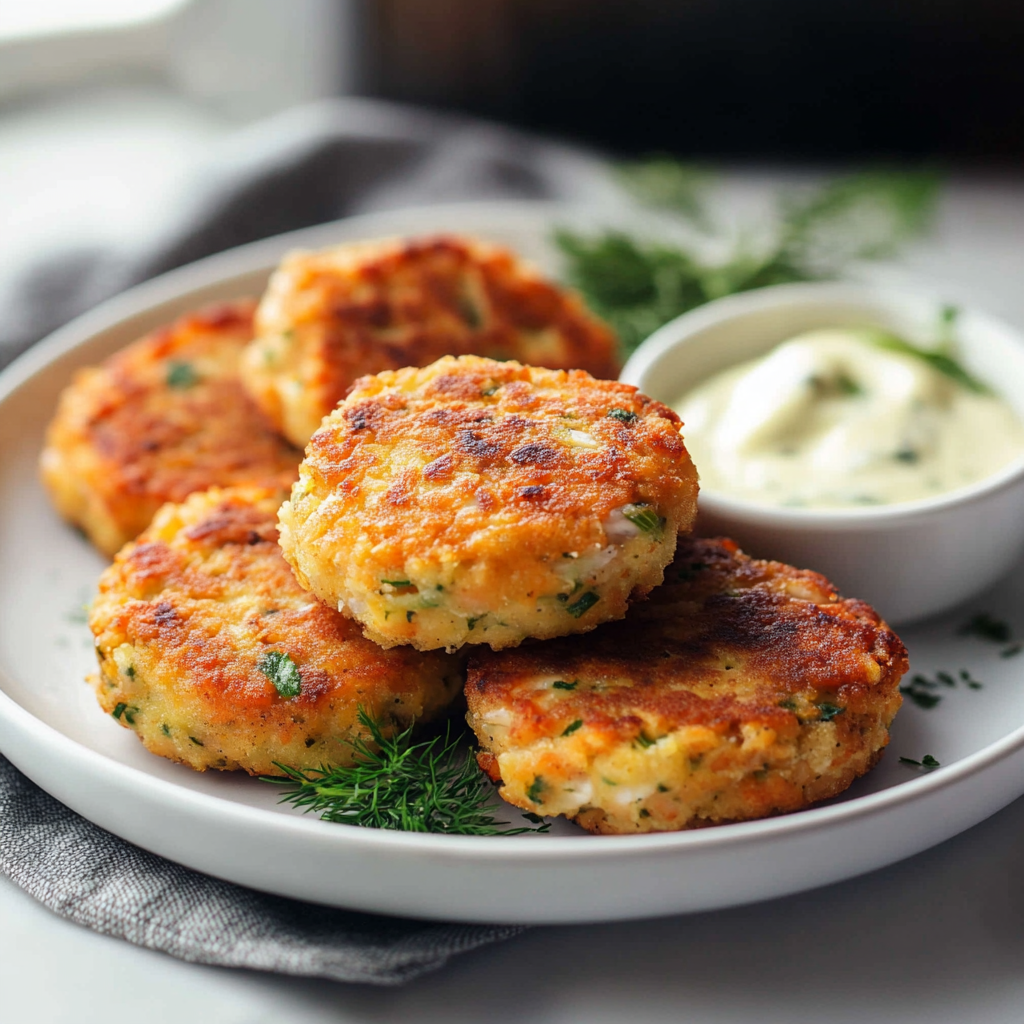
Picture this: I once whipped up these beauties for an impromptu family gathering. The look of delight on my uncle’s face when he took that first bite? Priceless! Moments like these remind me why I adore cooking. Whether you’re hosting friends or just craving a solo dinner adventure, these delectable treats will have everyone singing your praises.
Why You'll Love This Recipe
- These scrumptious salmon cakes are easy to prepare and perfect for busy weeknights
- Their flavor profile is a delightful mix of savory and fresh notes
- Visually appealing with golden crusts, they’re gorgeous on any plate
- Versatile enough to serve as appetizers or main dishes at any gathering!
I still chuckle at the time my dog decided he wanted to join in on the fun while I cooked these tasty delights.
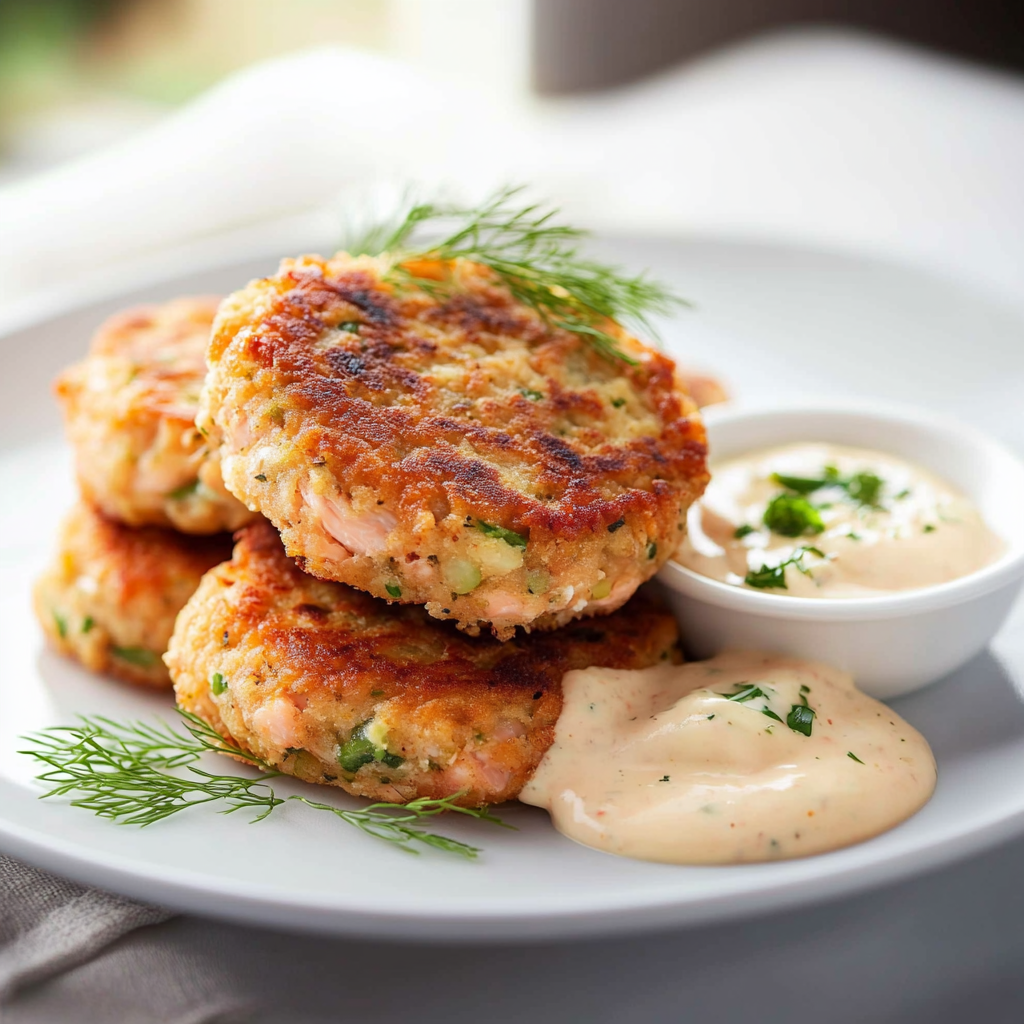
Essential Ingredients
Here’s what you’ll need to make this delicious dish:
- Canned Salmon: Opt for skinless and boneless varieties for easy mixing; no one wants fish bones in their cake!
- Breadcrumbs: Use plain or seasoned breadcrumbs; they help bind the mixture while adding a lovely crunch.
- Egg: One large egg works wonders as a binding agent—don’t skip it unless you want a crumbly disaster.
- Fresh Dill: Adds a refreshing burst of flavor; if you don’t have fresh dill, dried works too but in lesser amounts.
- Lemon Juice: A splash of acidity brightens up the flavors—freshly squeezed is best but bottled will do in a pinch.
- Green Onions: Chopped finely, they offer mild onion flavor without overpowering the dish.
- Salt and Pepper: Essential seasonings that enhance all the other wonderful flavors.
The full ingredients list, including measurements, is provided in the recipe card directly below.
Let’s Make it Together
Mix Everything Up!: Start by draining your canned salmon thoroughly—nobody likes soggy cakes. In a large bowl, flake the salmon apart using a fork until it resembles fluffy fish confetti.
Add the Good Stuff!: Toss in breadcrumbs, chopped green onions, dill, lemon juice, salt, pepper, and egg into the bowl. Mix gently until just combined—over-mixing leads to rubbery textures!
Shape Your Patties!: Grab about 1/4 cup of mixture and shape it into patties about 1 inch thick. Place them on a plate as you form all your delicious creations.
Heat Things Up!: In a skillet over medium heat, add olive oil until shimmering but not smoking—aim for that sweet spot between sizzle and burn.
Fry Those Cakes!: Carefully place patties in the skillet without crowding them. Cook for 4-5 minutes per side until golden brown; flip gently to keep them intact.
Savor and Serve!: Once cooked through and crispy on both sides, transfer them onto paper towels to drain excess oil briefly before serving hot alongside your favorite dipping sauce or salad.
Now that you’ve made these delightful treats from scratch, feel free to impress your guests or simply enjoy them while binge-watching your favorite show! These salmon cakes with canned salmon come together so effortlessly you’ll wonder why you haven’t made them sooner!
You Must Know
- These salmon cakes with canned salmon are not only delicious but also a fantastic way to use pantry staples
- The crispy exterior and tender interior create a delightful contrast that will have you hooked after the first bite
- Perfect for lunch, dinner, or even a snack!
Perfecting the Cooking Process
Start by mixing the ingredients in a bowl while preheating your skillet. Form the patties and cook them until golden brown on both sides for optimal flavor and texture.
Add Your Touch
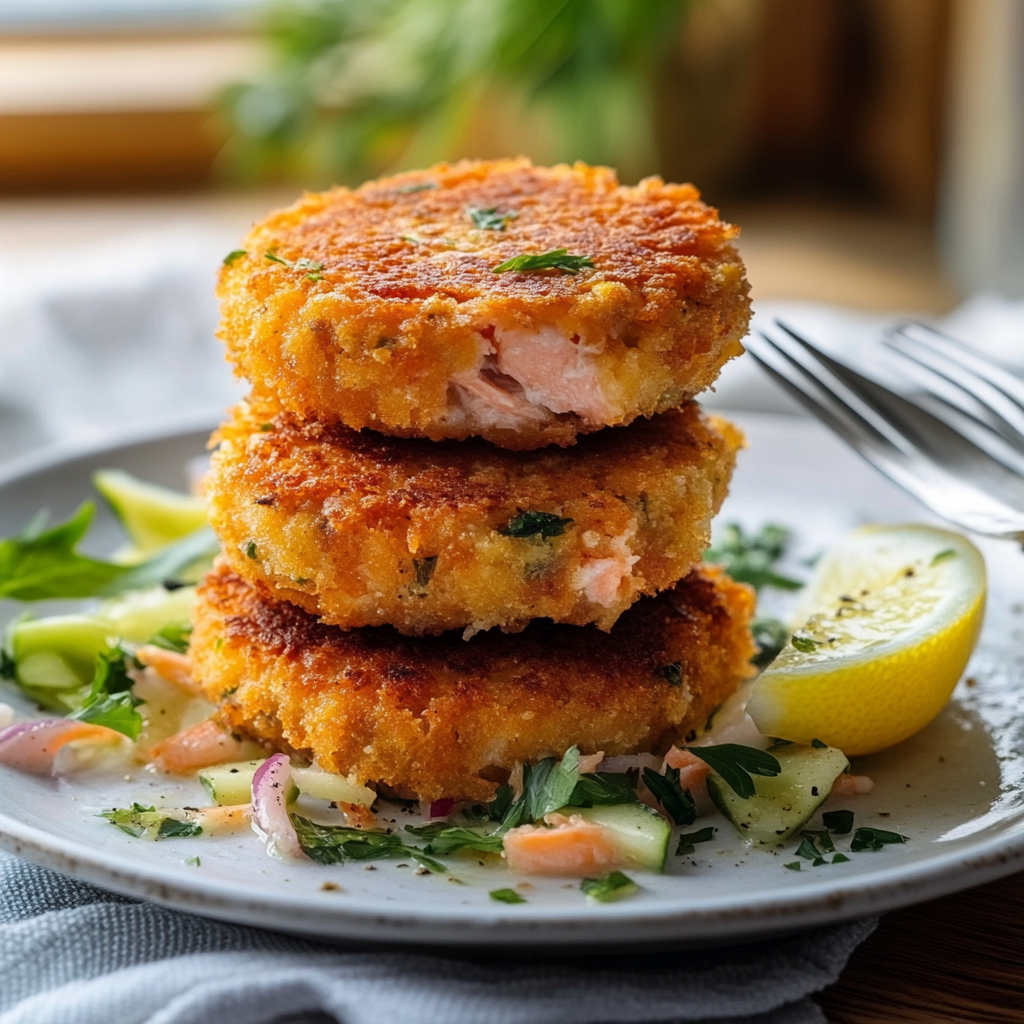
Feel free to swap out herbs or add spices like Old Bay for a unique twist. You can also toss in some veggies for added crunch and nutrition.
Storing & Reheating
Store leftover salmon cakes in an airtight container in the fridge for up to three days. Reheat in a skillet over medium heat for best results, ensuring they stay crispy.
Chef's Helpful Tips
- Use fresh breadcrumbs instead of store-bought for better texture; they soak up flavors beautifully
- Avoid over-mixing your batter to keep the cakes light and fluffy
- Make sure your pan is hot enough before adding the patties to ensure a perfect sear
Sharing this recipe always brings back memories of my grandma teaching me how to make these savory delights, and now I can’t help but smile every time I serve them at family gatherings.
FAQ
Can I freeze salmon cakes with canned salmon?
Yes, you can freeze them before cooking for up to three months.
What can I serve with salmon cakes?
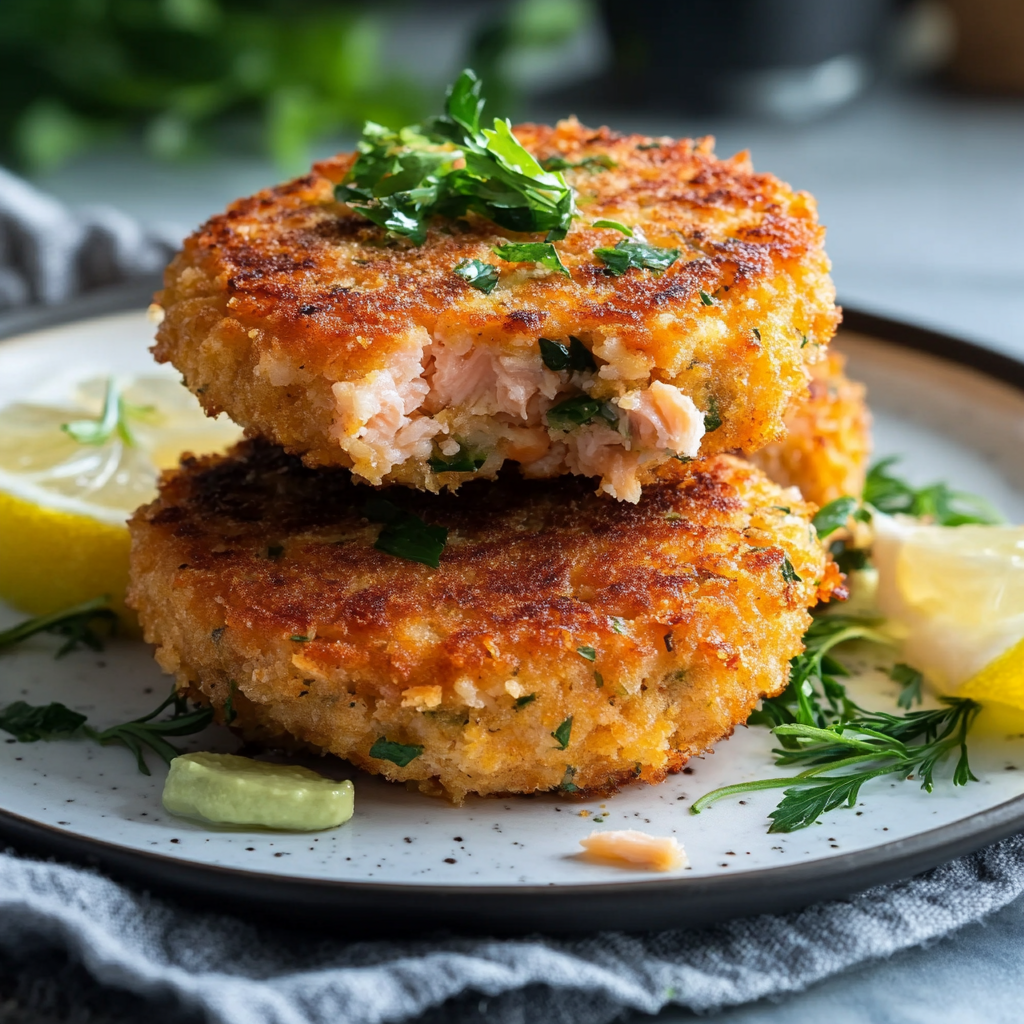
Pair these cakes with tartar sauce, salad, or roasted vegetables for a complete meal.
How do I know when they are cooked through?
The inside should be heated thoroughly and feel firm when pressed gently with a spatula.
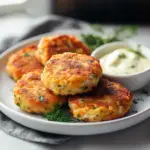
Easy Salmon Cakes with Canned Salmon
- Total Time: 20 minutes
- Yield: Makes approximately 6 servings 1x
Description
Enjoy these crispy salmon cakes made with canned salmon—quick, flavorful, and perfect for any occasion!
Ingredients
- 1 can (14.75 oz) skinless, boneless canned salmon
- 1 cup breadcrumbs (plain or seasoned)
- 1 large egg
- 2 tablespoons fresh dill (or 1 teaspoon dried)
- 2 tablespoons lemon juice
- 2 green onions, chopped
- Salt and pepper to taste
Instructions
- Drain the canned salmon thoroughly and flake it into a large bowl.
- Add breadcrumbs, green onions, dill, lemon juice, salt, pepper, and egg; mix gently until combined.
- Shape the mixture into patties about 1 inch thick.
- Heat olive oil in a skillet over medium heat until shimmering.
- Fry the patties for 4-5 minutes per side until golden brown and cooked through.
- Transfer to paper towels to drain excess oil before serving.
- Prep Time: 10 minutes
- Cook Time: 10 minutes
- Category: Main
- Method: Frying
- Cuisine: American
Nutrition
- Serving Size: 1 serving
- Calories: 140
- Sugar: 0g
- Sodium: 310mg
- Fat: 6g
- Saturated Fat: 1g
- Unsaturated Fat: 5g
- Trans Fat: 0g
- Carbohydrates: 12g
- Fiber: 1g
- Protein: 11g
- Cholesterol: 50mg


